
On average, it takes about 1-2 hours to assemble an outdoor trampoline. The precise time required for assembly varies depending on the trampoline’s size, type, number of springs, and the number of individuals involved in the process.
The assembly time increases with the trampoline’s size as more springs must be attached to the frame. Moreover, square trampolines typically require more time to install than round ones. Additionally, larger installation groups may decrease the assembly time, but this is not always the case. When energetic children are present, more people in the group may lead to more time spent chatting and playing instead of assembling.
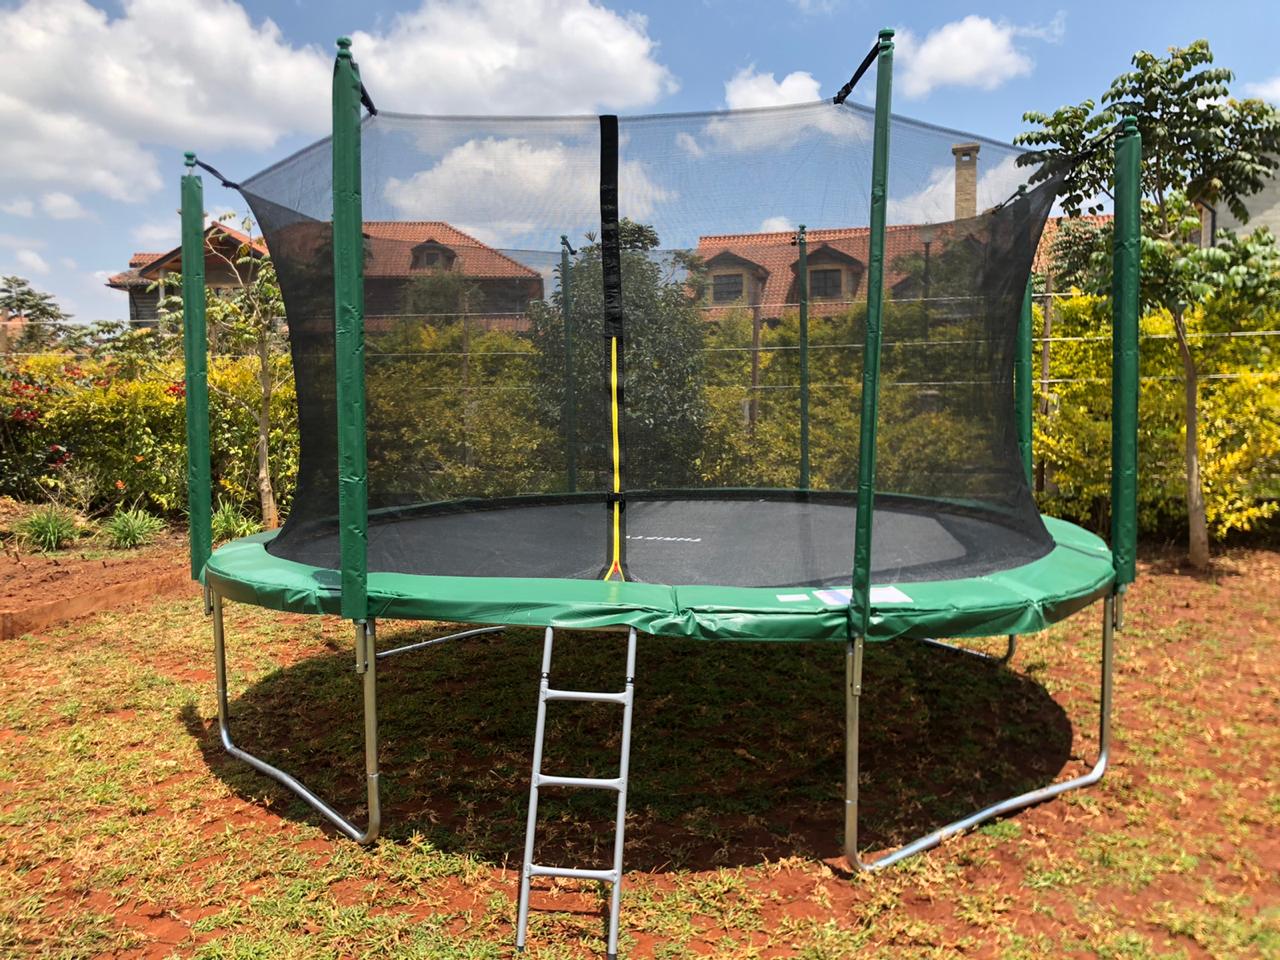
Here are the five crucial steps you need to follow to set up your trampoline like a pro. With a basic understanding of these setup steps, you can save money by assembling the trampoline instead of paying someone else.
First, begin by preparing all the bases for the trampoline frame and positioning them on the ground. Typically, there will be approximately 5 to 6 bases, each composed of a U-shaped stand and two shorter upper poles. Attach the short poles to the stands, then place all the bases on the ground.
Assemble the Round Frame Ring
Next, assemble the round frame ring, which happens to be one of the heaviest components of a trampoline. It’s recommended that you seek assistance from another person. The frame comprises two kinds of poles: one with holes on either end and the other with a protruding section that can be inserted into those holes. Your task now is to join these two types of poles to create a circular shape. Once that’s done, you can attach the frame base and ring together.
Attach the Springs and Mat to the Frame Ring
Thirdly, it’s time to tackle the most significant and intricate step: attaching the springs and mat to the frame ring. This can be a complex process, as each trampoline typically has between 48 and 120 springs. It’s essential to begin by attaching the first four springs at the 12 o’clock position on the frame, followed by those at the 3, 6, and 9 o’clock positions (this is crucial!). Failing to follow this sequence could result in the springs being too taut to attach to the opposite side of the frame.
Fix the Pad
The fourth step is to adjust the trampoline pad. The circular pad is a crucial component as it covers the springs, ensuring that the child will not come into contact with them and avoid getting hurt while bouncing. To begin, you need to fix the pad. Connect the hooks beneath the pad diagonally to the V-rings underneath. By doing so, you can secure the pad firmly in place.
Put the Safety Enclosure Net to the Poles
Then, proceed to insert the foam-covered poles into their corresponding safety enclosure mesh pole jackets. A 15 FT trampoline typically has six pole jackets, so ensure that all poles are securely inserted into their respective jackets. While sliding the poles, it’s recommended to place them and the net onto the trampoline frame with the mat you’ve just finished assembling. This allows you to work in a standing position rather than squatting or bending over.
Tie the Poles of the Net and the Base of the Frame Together
Finally, fasten the net’s poles to the frame base by using the U-shaped stakes (also known as clamp sets) and securing them with the spanner that comes in the package. It’s still advised to install the two opposing poles first.